To set up an Enlighted lighting system, users can utilize the Groups feature in Manage (New UI). This feature allows users to create Switch, Motion, Daylight, and Cross-Gateway groups quickly and easily. Below are the steps to view Groups on a floor map after they have been created.
Viewing Groups on a Floor Map
Note: Automatic Zoom in functionality is disabled. With this enhancement, users will be able to manually zoom in and out of the floorplan. However, the floorplan will automatically zoom out while switching between different groups Views and while clearing the gateway filter in the floorplan tab.
To view groups on a floor map,
- Access the New UI using the New User Experience (UI) button in the top bar. In case you don't see the toggle button for the New UI, please reach out to Enlighted Support to enable it for your Manage application.
- Click Facilities in the left navigation pane and select a floor.
- Click on the Groups tab. All Switch, Motion, and Daylight Groups are displayed.
On the floor map, the colored groups represent the different groups such as Motion, Switch, Daylight, Cross-gateway groups that have been created. The color-coding on the floor map helps visually separate the groups, making it easier to locate and work with specific groups.
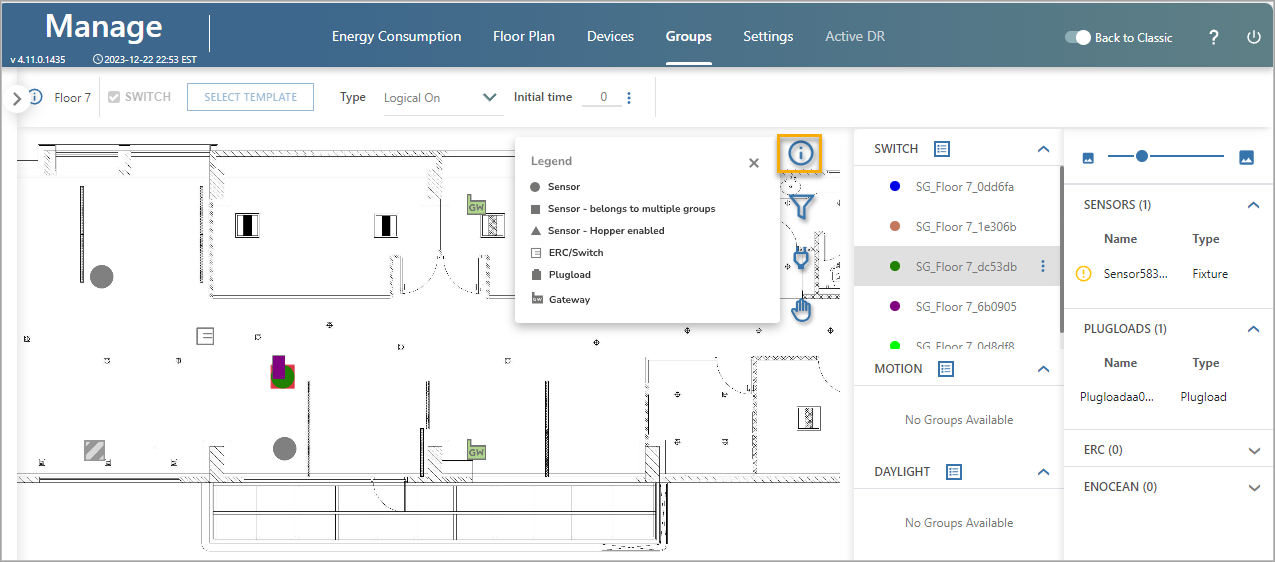
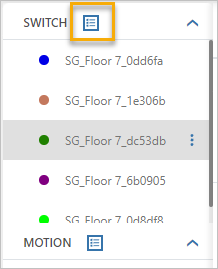
The colored groups on the floor map correspond to the list of groups in the right pane. This list displays the names or labels assigned to each group, allowing users to easily identify and select the desired group. When you click on the list icon, it will display the properties of the groups in a table format.
This table will provide information such as the group name, and other relevant details for the group.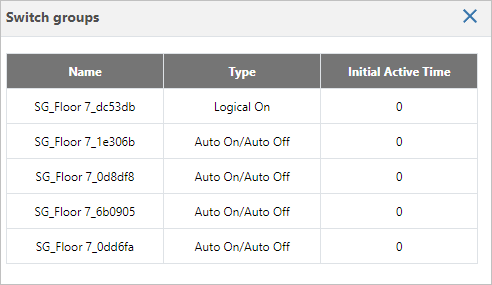
When you select a Group Name, the right-most pane will display the list of devices associated with that group. This includes devices such as Sensors, Gateways, PLCs, and ERC switches.

Legend for the Group Device Icons on the Floor Map
Clicking the 'i' button displays a legend with more information about each icon on the floor map.
Legend – Displays the Device icons.
| Icons | Description |
 | Sensor that belongs to a single group |
 | Sensors that belong to multiple groups |
 | Sensor that is assigned to be a hopper |
 | ERC/Switch |
 | Plugloads |
 | Gateways |
Viewing Groups for an Organization or Building
To view the Switch, Motion, or Daylight Groups for an organization or building,
- Click Facilities in the left navigation pane and select an Organization or a Building.
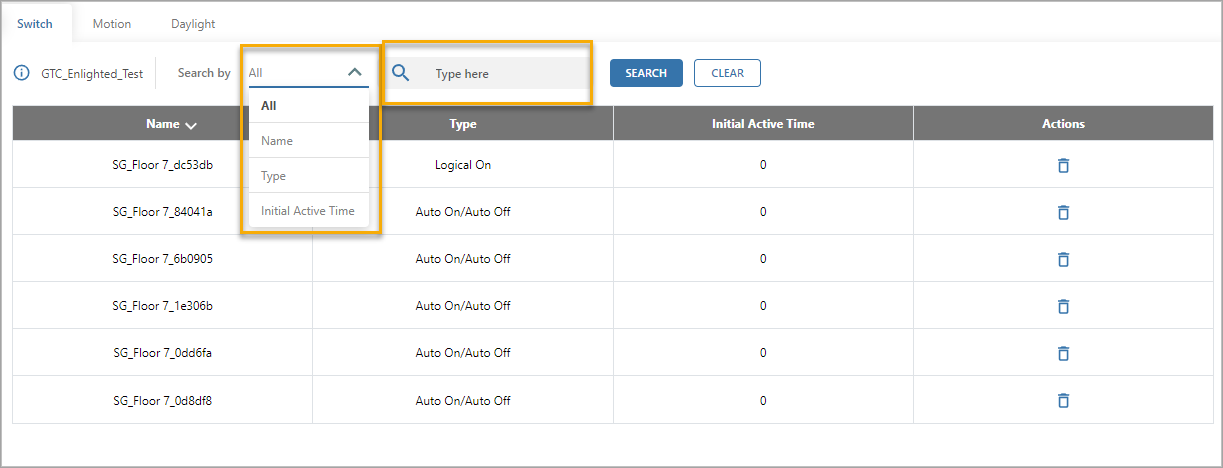
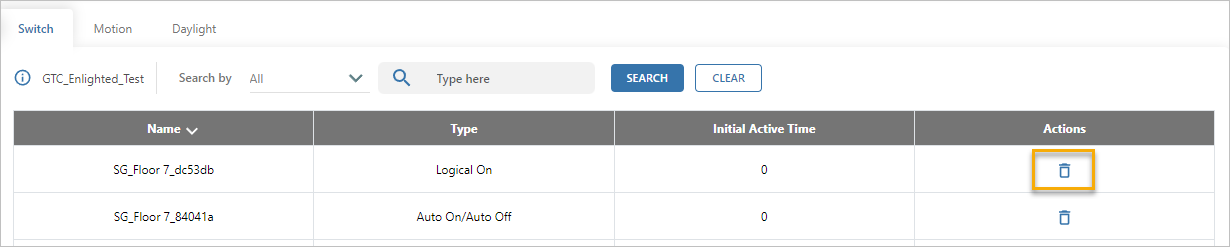
- Click on the Groups tab and select Switch, Motion, or Daylight to view the list of groups. The Switch and Motion tabs include Cross-Gateway groups too.
Users can search by fields from the dropdown list or type text in the Search text box. For a description of the parameters, refer to the corresponding Create a Switch, Motion, or Daylight Group.
Deleting Groups for an Organization or Building
To delete a group:
Select the required group and click the Delete icon.
 A confirmation message 'Are you sure you want to delete this group' appears.
Click Yes. The group will be deleted only if no fixtures are assigned to it. However, if there are fixtures associated with the group, you will receive a secondary confirmation message.
The secondary confirmation message will ask if you want to remove the fixtures from the group and then delete the group. If you choose "Yes" in this case, the fixtures will be unassigned from the group and the group will be deleted.
In the event of a failure during the deletion process, you may see a message stating "Unable to remove the devices automatically." This indicates that the system was unable to automatically remove the devices from the group. In such a situation, you will need to remove the devices from the group manually before attempting to delete the group again.
Recommended articles:

